The Addams Family — Full Restoration Project
A complete workshop restoration, documented step by step.
Details
Machine: The Addams Family
Manufacturer: Bally / Williams
Year: 1992
Project type: Full restoration
Location: SwissPinball workshop
Status: In progress
Main work planned: New playfield, mechanical rebuild, electronics inspection, final testing
This Addams Family pinball machine is now in the SwissPinball workshop for a complete restoration. The machine is complete, but the playfield is in poor condition and will be replaced as part of the project.
This restoration will be documented step by step, from the initial condition through to the final rebuilt and tested machine.
The first stage of the restoration has now begun.
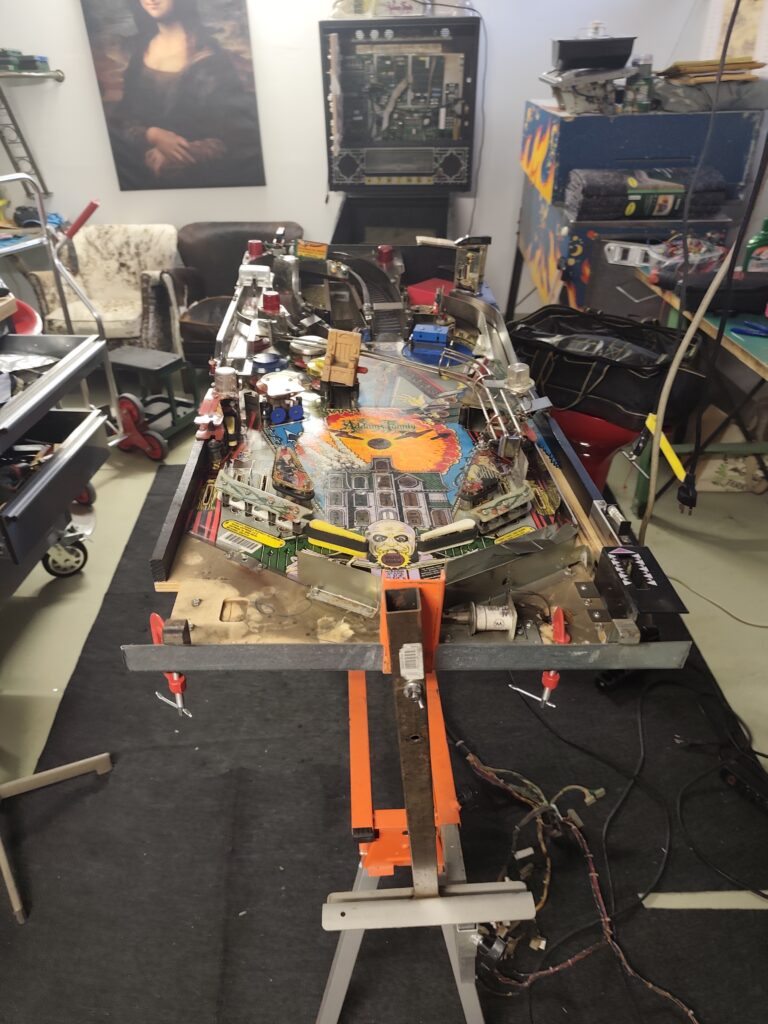
The playfield has been removed from the cabinet and mounted on the rotisserie, which allows full access to both the top and underside of the playfield during dismantling.
This is an important part of the process. With the playfield safely mounted, I can now begin removing the assemblies, ramps, plastics, wiring, mechanisms, and hardware in an organised way.
Each part will be inspected, cleaned, and evaluated before reassembly. This also allows me to identify any worn, broken, or missing components and prepare a proper list of replacement parts to order, including the new playfield itself.
This stage is where the restoration really starts: the machine is taken apart carefully so that it can be rebuilt properly, cleanly, and reliably.
Solenoids Tagged and Metal Parts Removed
The restoration of this Williams The Addams Family pinball machine has now reached the stage where the playfield is being prepared for a deeper strip-down.
The solenoids have been removed and tagged, using the original manual as a reference for the correct numbering. This will make it possible to transfer each mechanism back to the correct position later during the rebuild.
Most of the metal parts have also been removed and separated for cleaning. These include ramps, guides, brackets and mechanical assemblies, all of which will be cleaned and inspected before reassembly.
Before dismantling the remaining lamps, switches and staples, the next step will be to clean the existing wiring loom while it is still in place. This wiring will be transferred to the new playfield, so it needs to be cleaned carefully before removal. Cleaning it at this stage makes sense because the loom is still held in its original shape and position, making it easier to document, photograph and preserve the correct routing.
The aim is to remove loose dirt, dust and grime from the wiring and exposed underside of the playfield before the final dismantling begins. Once cleaned, the remaining lamps and switches can be removed, the staples around the bumpers taken out, and the loom can then be transferred methodically to the new playfield.
This stage is not glamorous, but it is one of the most important parts of a proper restoration. The quality of the final rebuild depends on careful documentation, clean parts, correct tagging and preserving the original wiring layout as accurately as possible.
Solenoids removed and tagged according to the manual, with the metal playfield parts separated and ready for cleaning. The Addams Family restoration is now entering the cleaning and inspection phase.
All parts have now been removed from the playfield, with the exception of the lamps. I have deliberately left the lamps in place for the moment, as this helps keep the wiring loom correctly positioned while the playfield is being cleaned and prepared.
Everything that has been removed has been tagged and documented, including switches, solenoids, bumpers, guides, brackets and mechanical assemblies. At the same time, I am building the replacement parts list while waiting for the new playfield to arrive.
This will be the first time I have used a Mirco Playfields replacement playfield. As with any major reproduction part, there is always a waiting period and a degree of uncertainty until it arrives, but this also gives me useful time to prepare the machine properly before the new playfield is fitted.
Preparing the Original Parts for the New Playfield
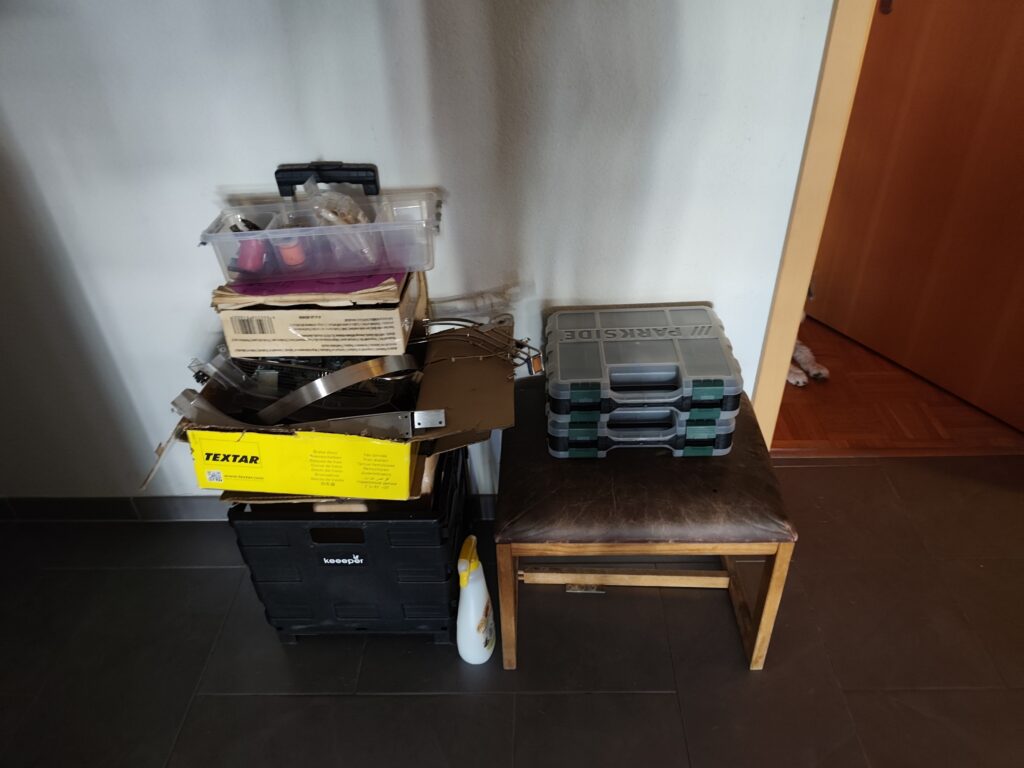
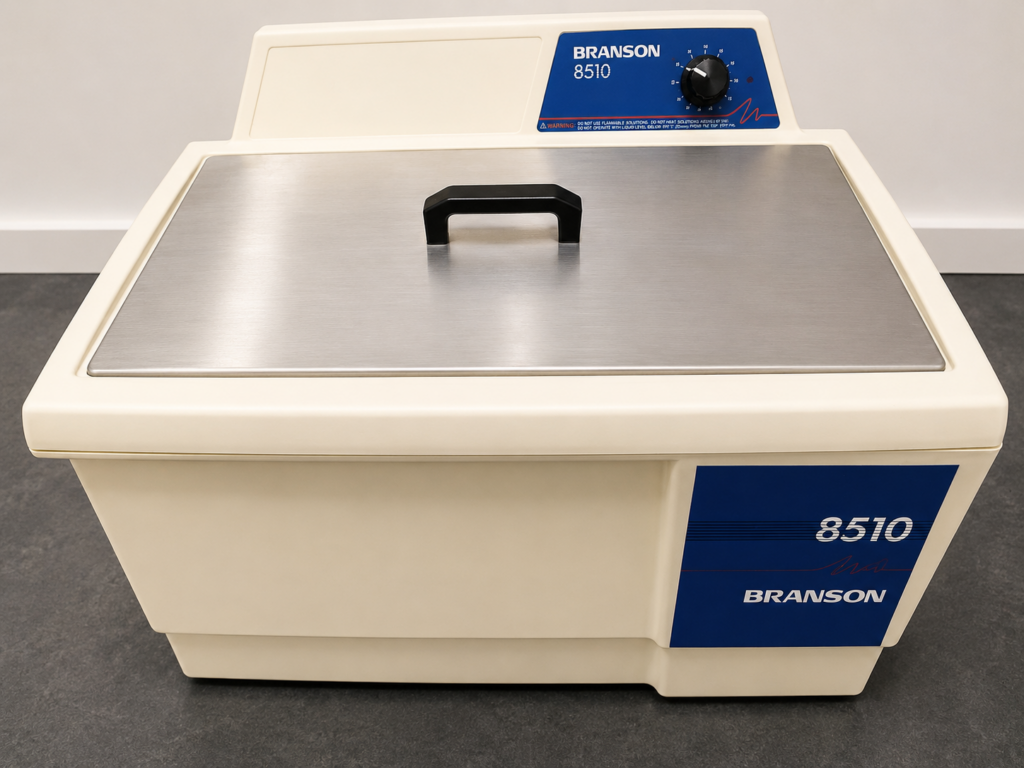
All removed metal parts have been cleaned using my professional Branson 8510 ultrasonic bath, a large 20-litre laboratory-grade machine. This is an important stage of the restoration, as it allows the original hardware to be cleaned thoroughly before inspection, polishing, sorting and reassembly.
The ultrasonic cleaning removes the carbon, grease and black residue that have built up on the machine since 1992. This is more than cosmetic. If this contamination is not removed properly, it can be carried onto the new playfield, new mechanisms and freshly rebuilt assemblies once the machine is back in operation.
New Playfield Preparation Begins
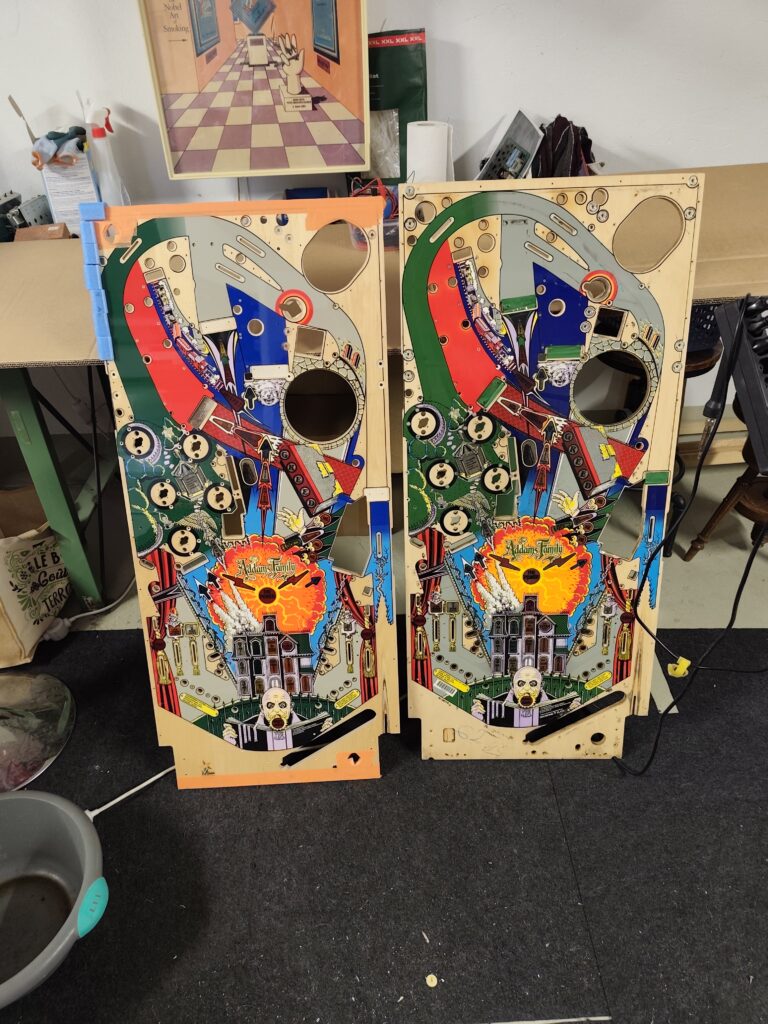
The restoration has now moved from dismantling and cleaning into the preparation stage for the new playfield.
The original wiring loom has been carefully removed from the old playfield and tagged throughout. This is a very important step, as the loom must be transferred accurately to the replacement playfield while preserving the original routing, switch positions, lamp locations and connector layout.
Because the loom is now labelled, it will not be washed or soaked. Instead, it will be cleaned carefully by hand, using dry brushing, controlled wiping and spot-cleaning where necessary. The aim is to remove dirt and carbon residue without damaging the tags, wiring, diode legs, lamp holders or connectors.
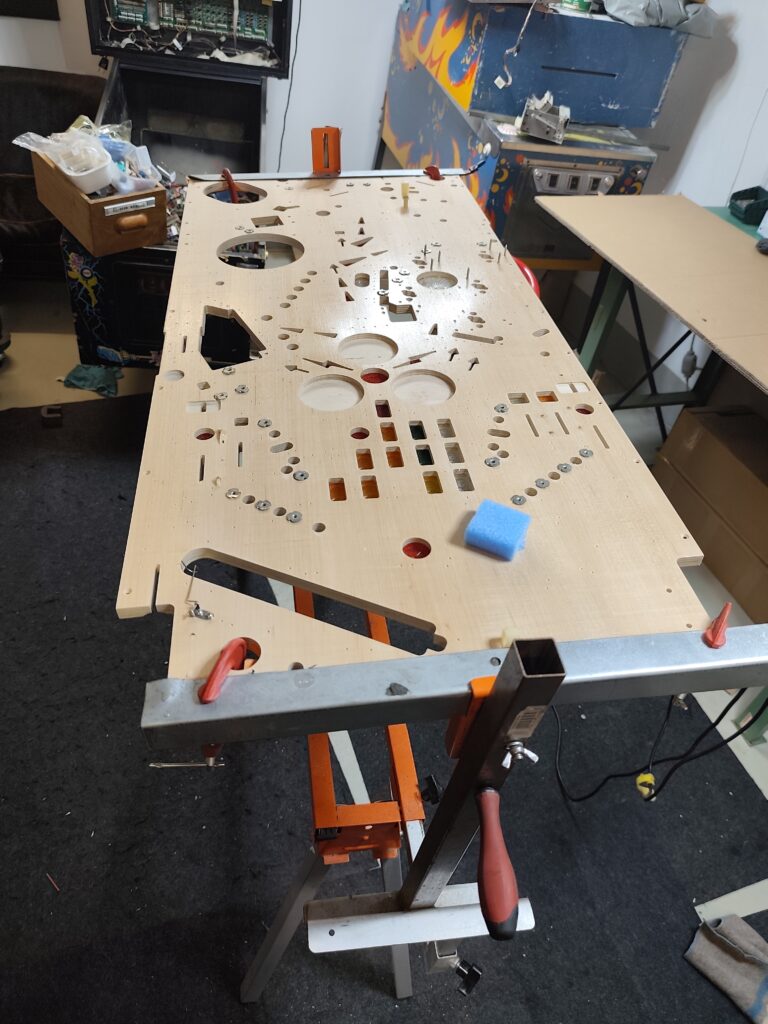
The new playfield has also been prepared for the population process. To protect the fresh surface, I have covered it with carefully cut cardboard while the work is carried out. This gives a protective layer during the transfer of hardware and assemblies, reducing the risk of scratches, dropped screws or accidental marks.
Before mounting the new playfield onto the rotisserie, the threaded inserts and T-nuts that grip into the wood will be transferred while the playfield is still flat and fully supported. This is the safest stage to install them, as they need to sit square and flush before the main rebuild begins.
Once these fasteners are in place, the new playfield can be mounted on the rotisserie and the population work can begin section by section.
Parts Order Placed
A major parts order has now been placed with Pinball-Parts.shop for the next stage of the Addams Family restoration.
The order includes the new main ramp, bookcase rebuild parts, replacement plastics, targets, posts, bumper parts, flipper coils, wiring parts, sockets, fasteners, coil sleeves and various cosmetic details.
This is an important step before the new playfield can be populated. The aim is to rebuild the machine section by section using cleaned original hardware where appropriate, while replacing worn, broken or tired parts with new components.
With the new playfield already protected and prepared, the next stage will be to transfer the threaded inserts and hardware, then begin rebuilding the assemblies onto the new playfield.